



To make UV gel block colour nails, you pull cover pink gel up a sculptured acrylic base, then sit self-levelling gel colours right next to each other so each block settles beside the last. Glitter covers the tip, clear gel caps the nail, and the blocks are outlined in fine black with white highlight dots.
Update: the video uses black and white paint for the outlines and highlights. We no longer stock acrylic paint, so the products list uses Serious Black and Snow White gel polish, cured in thin layers, instead. Baby Cakes is the closest in-stock pink to the cover pink.
This UV gel nail design tutorial is quick to file because gel is softer than acrylic. Below you'll find the products, each step and the tips from the video.
At a Glance
- Design: graphic patches of colour with sparkle, black line work and white highlights
- Technique: self-levelling gel design over an acrylic sculpture, capped in clear gel and hand painted
- Key products: Baby Cakes Gel Polish, Clear as Day Builder in a Bottle, Halo Nail Art Glitter, Serious Black and Snow White Gel Polishes
- Video length: about 11 and a half minutes
Why You'll Love These UV Gel Block Colour Nails
- Self-levelling gel colours sit neatly side by side
- Glitter adds sparkle to the design
- Hand-painted outlines and highlights add depth
- Gel is softer than acrylic, so filing is quick
Products Used in This Video


How to Create UV Gel Block Colour Nails
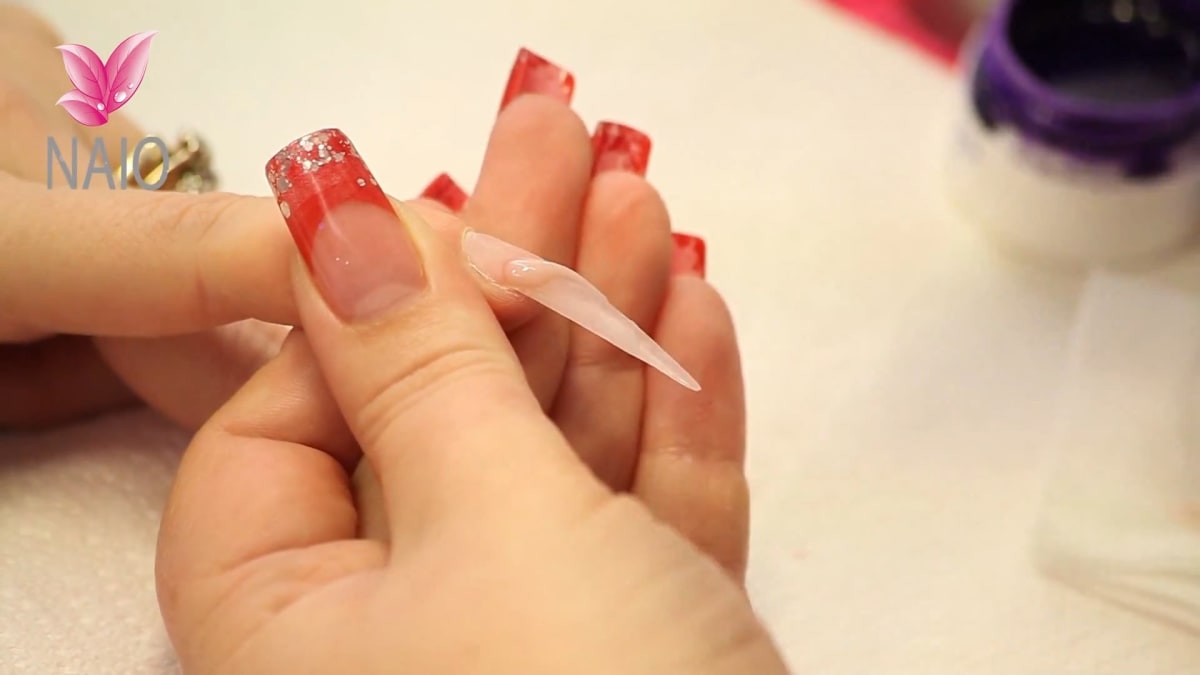
1. Start with the cover pink
The base is already built in sculptured acrylic. Place cover pink gel on and pull it up the nail.
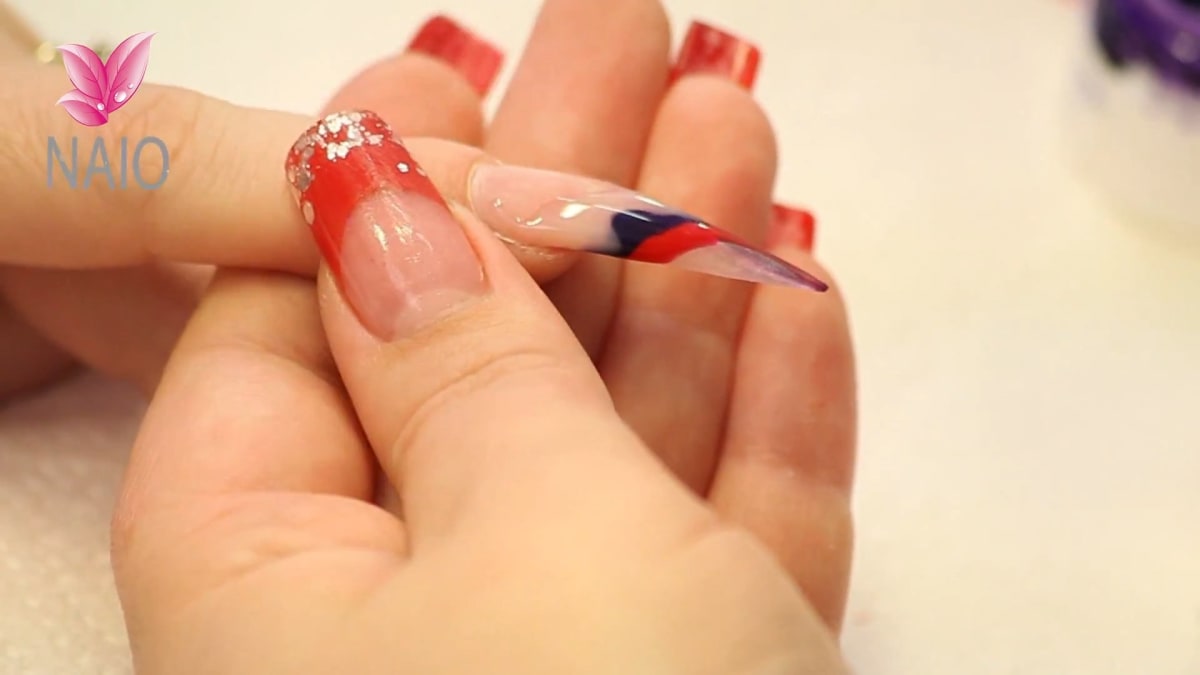
2. Add the colours
Place a colour on the side. Because it is self-levelling it will sit next to the pink. Keep building the design by sitting colours right next to each other, getting right down to the sides.
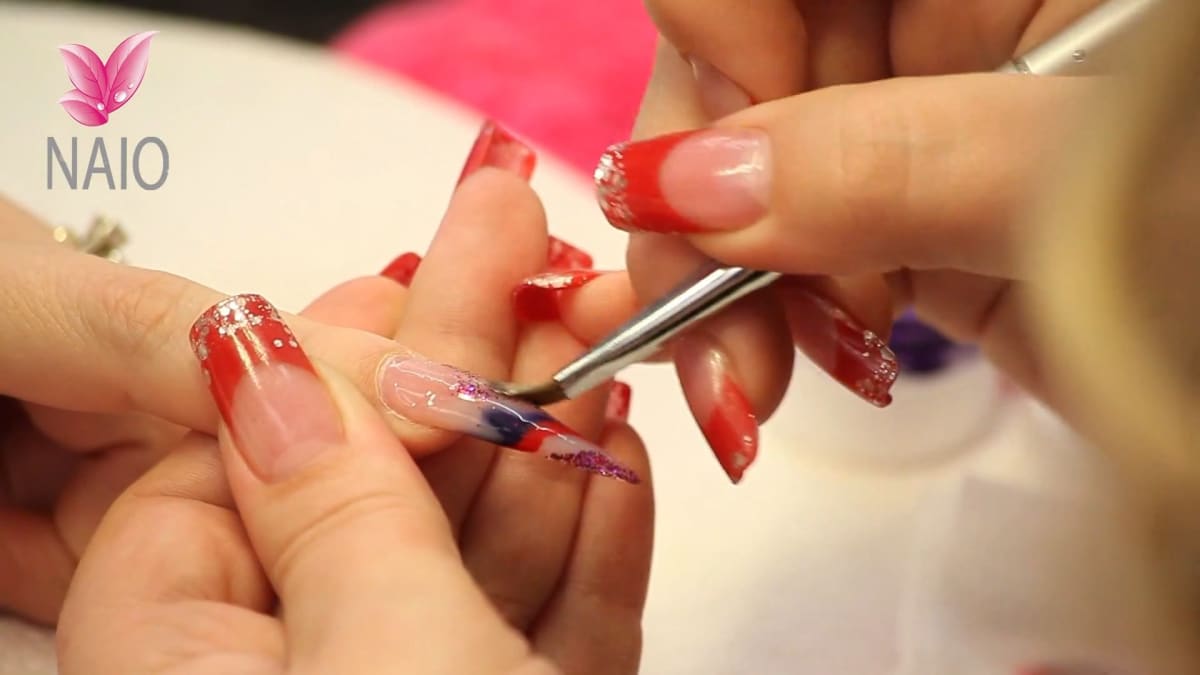
3. Add glitter
Pick up clear gel, then your glitter. Check you have covered the whole tip. Cure for 3 minutes.
4. Cap the nail
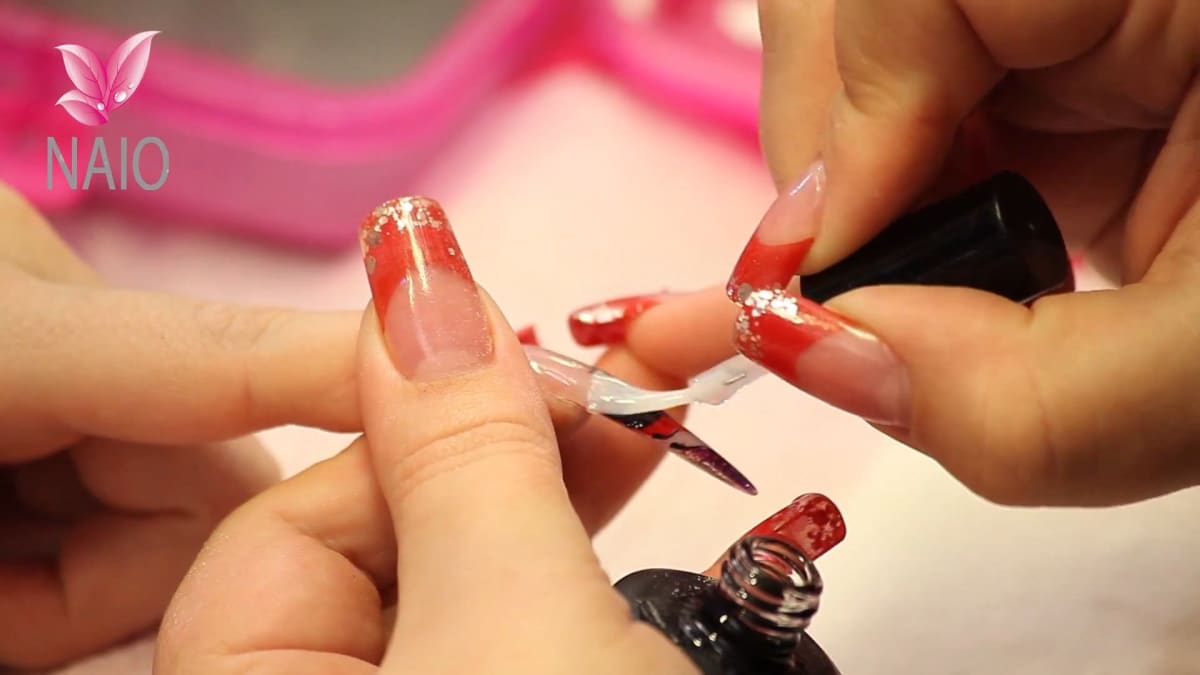
Apply a thin layer of clear gel over the whole nail, then your bulk layer, mainly around the stress point. Let it settle, move it with the tip of the brush if needed, then cure for 3 minutes.
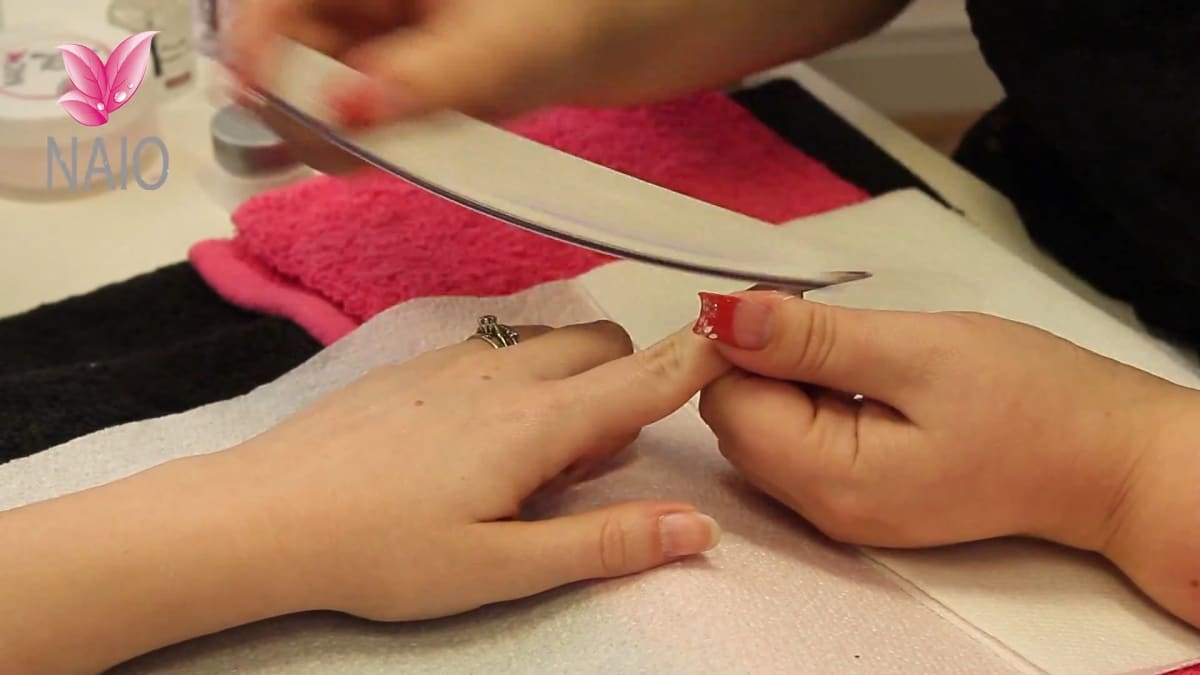
5. Remove the residue and file
Wipe, turn the wipe over and wipe again. Filing should be light because gel is much softer than acrylic.
6. Hand paint the detail
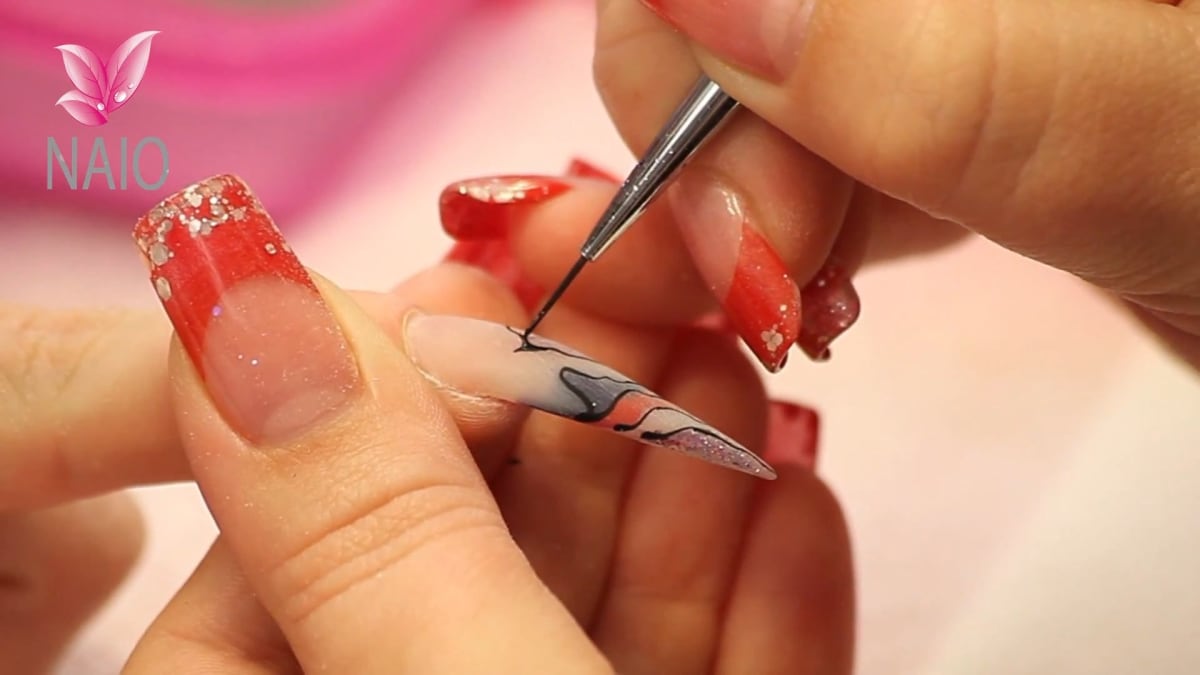
Smooth the area with a white block and remove the dust. Outline areas with thinned black gel polish, keeping the brush angle high so lines stay fine and curing in thin layers. Smooth any sharp corners, then add little white dots on the thicker areas as highlights.
7. Top coat and oil
Apply gel top coat and cure for 2 minutes. Finish with cuticle oil.
Pro Tips
- Keep your brush angle high for thin lines
- Do not be harsh with the file on gel
- Smooth sharp corners, as these are where highlights go
Common Mistakes
- Being too harsh when filing. Gel is much softer than acrylic and over-files easily.
- Outlining with the brush angle too low, which gives thick, uneven lines.
- Skipping the white block before hand painting.
Who Is This Design For?
This suits anyone who wants a colourful, graphic design and enjoys combining gel colour with hand-painted gel outlines.
Ways to Make It Your Own
- Choose your own colour combination
- Use more or less glitter
- Change the outline colour
Aftercare
Massage cuticle oil in daily to keep the nails and cuticles conditioned.
Frequently Asked Questions
How do you make UV gel block colour nails?
Pull cover pink gel up the nail, sit self-levelling gel colours side by side, add glitter and cure, cap with clear gel, wipe and file lightly, then outline the blocks in black, add white dots and top coat.
How long does each layer cure?
The colour and capping layers are cured for 3 minutes each, and the top coat for 2 minutes.
Why use a white block before painting?
It smooths the area so the hand painting goes on cleanly.
How do I keep outlines thin?
Keep the brush angle nice and high.
Why do the colours stay side by side?
The gels are self-levelling, so each colour settles next to the one beside it.
Where do the white highlight dots go?
On the thicker areas of the black outline, once any sharp corners have been smoothed.
Give UV Gel Block Colour Nails a Try
Watch the video above and try your own colour combination.


