



To make purple ombre nails, you paint a sheer nude base, lay a lighter and a darker purple gel polish side by side, blend where they meet with a fan brush, then cure and add black line details over the top. In this tutorial Kirsty builds a set of five on tips, with a different ombre or shape on each nail.
She uses purples and lilacs and a special brush, and finishes with abstract line art.
She works on tips because there is no model, so there is no prep needed here, but on a client you would prep the nail and add the extension if you want. Below you'll find the products, each step with its place in the video, and Kirsty's tips.
At a Glance
- Design: purple ombre nails with abstract black line art
- Artist: Kirsty
- Technique: gel polish ombre blended with a fan brush, with hand-painted shapes
- Key products: Sheer Elegance, Periwinkle, Glastonbury Nights, Serious Black, Urban Graffiti Ultra Matte Top Coat, Metallic Nail Art Decals
- Video length: about 23 and a half minutes
Why You'll Love These Purple Ombre Nails
- Soft purple and lilac blends with plenty of variety across the set
- Each nail uses a different ombre or shape
- Abstract shapes are forgiving, so they are fun to create
- Matte and shiny finishes add contrast
How the Ombre Changes From Nail to Nail
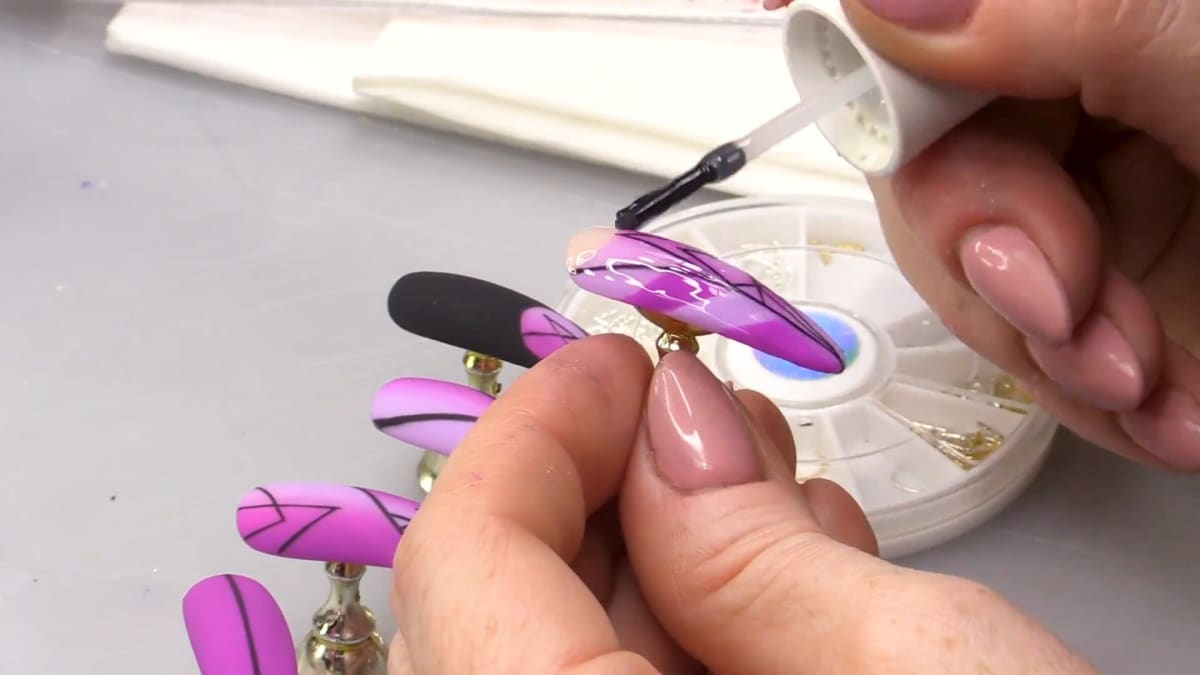
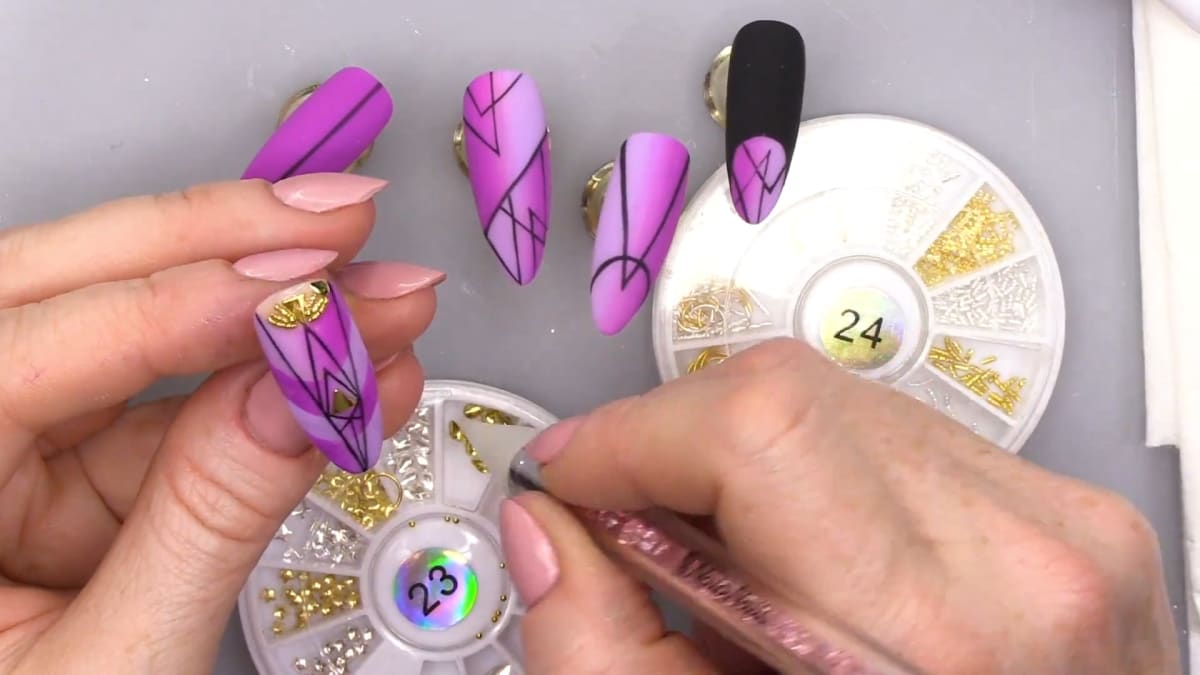
Every nail uses the same two colours, Periwinkle and Glastonbury Nights, over a Sheer Elegance background. What changes is the direction and the shape. One nail is blended in sections from the cuticle down, with the colours swapped over in each section. The pointer has a full length vertical ombre, with one shade on each side. The middle nail stops short of the tip at an angle, so the nude shows through, and the tip has the colours reversed.
The line art then ties them together. Black abstract shapes are painted over the cured ombre with a smaller brush, and one nail is filled in solid black with curved lines on top. Because the shapes are abstract, they do not have to match, which makes this gel polish ombre blend a relaxed design to practise.
Products Used in This Video


How to Create Purple Ombre Nails
1. Apply the background colour
Apply one coat of Sheer Elegance as a background colour on all five nails. Watch this step at 2:00
2. Set up your colours
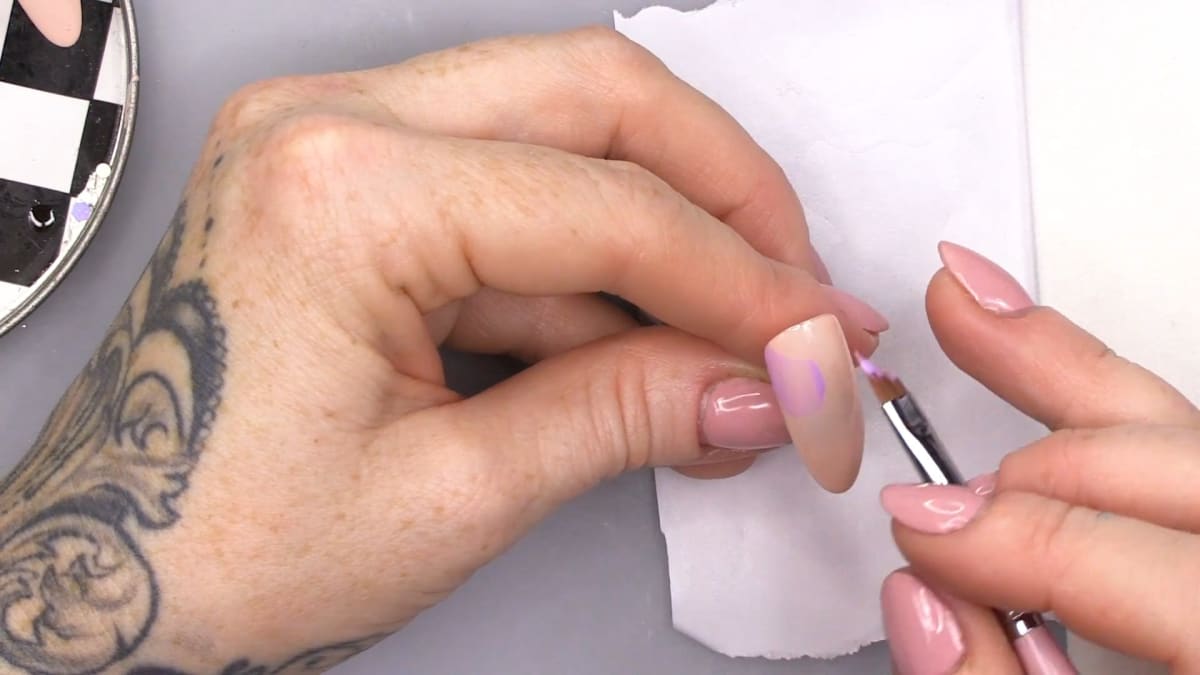
Put your colours on a palette and pick up Periwinkle on the Deep Smile brush. Watch this step at 4:00
3. Start the ombre
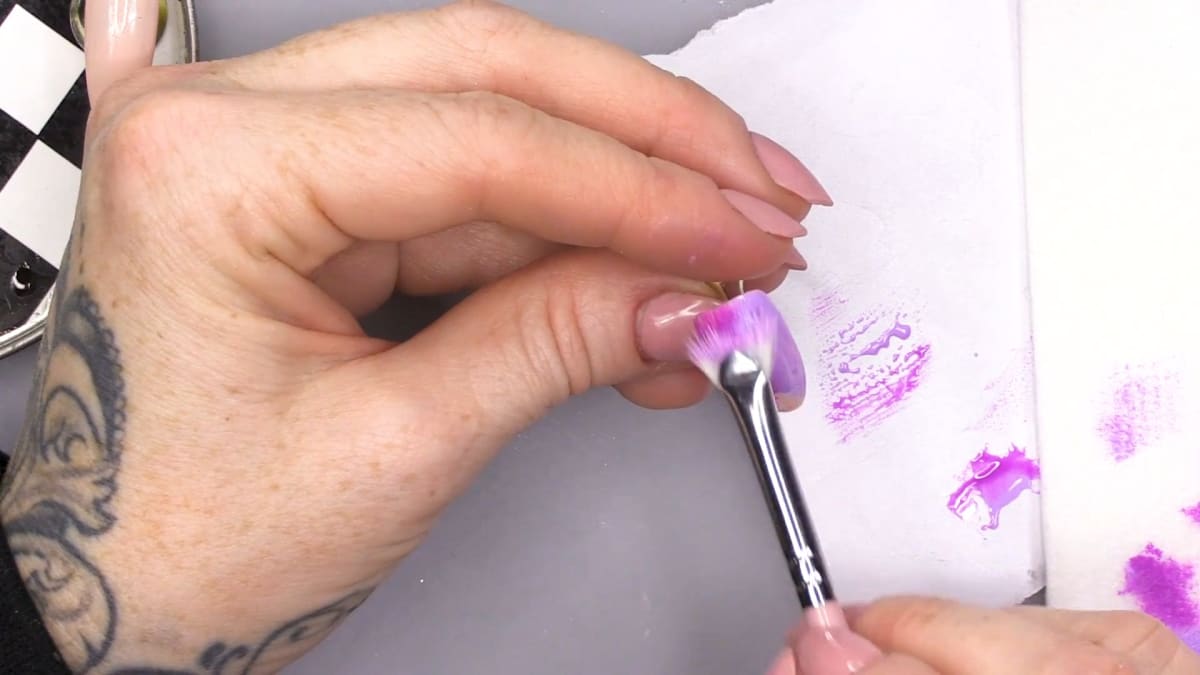
Apply Periwinkle at the cuticle area, leaving a half moon shape. Do the same on the other side with Glastonbury Nights and blend the two together. For the next section down, swap the colours over and blend with a fan brush, then repeat down the nail. Watch this step at 6:30
4. Make each nail different
On the pointer nail, do a full length vertical ombre from top to bottom, with Periwinkle on one side and Glastonbury Nights on the other, blended with the short fan brush. On the middle nail, do the same but not all the way to the tip, creating an angle at the tip to show the Sheer Elegance underneath, then reverse the colours for the tip. Watch this step at 10:00
5. Sweep out the curve
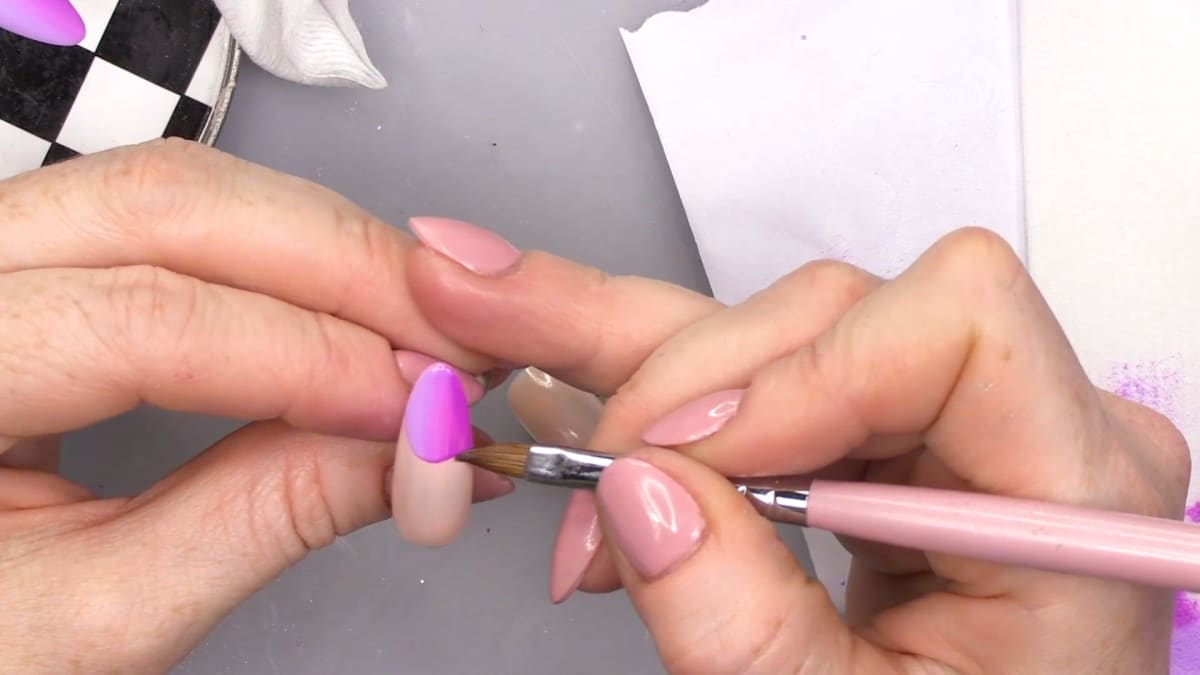
Sweep out the curve to neaten the shape. Kirsty notes this is the old fashioned way of doing a smile line in gel. Watch this step at 12:30
6. Add the abstract line art
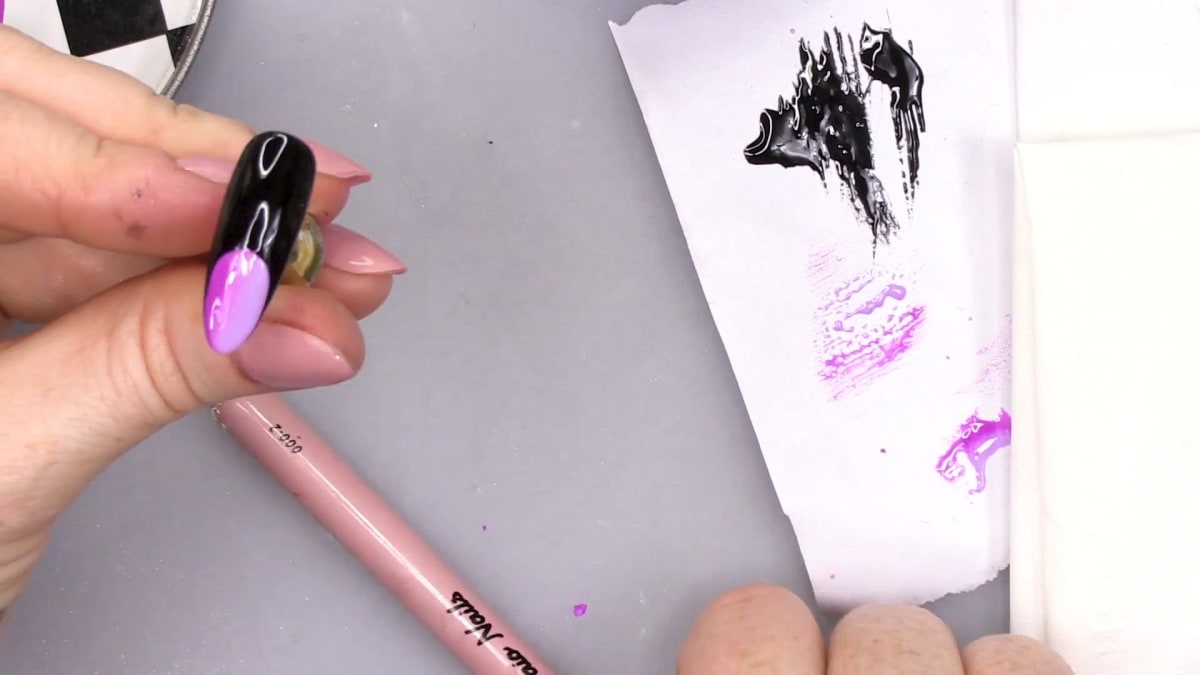
Use a smaller brush to create abstract shapes and neaten the edges. Fill the black nail in with two coats of Serious Black and add curved lines. Watch this step at 15:00
7. Finish
Use Ultra Matte Top Coat on the matte nails and add the metal decals and studs. Watch this step at 19:00
Where to find each stage of the Purple Ombre Nails video
| Stage | Time |
|---|---|
| Sheer Elegance background | 2:00 |
| Setting up the colours | 4:00 |
| Starting the ombre | 6:30 |
| Different ombres on the pointer and middle nails | 10:00 |
| Sweeping out the curve | 12:30 |
| Abstract line art | 15:00 |
| Matte top coat, decals and studs | 19:00 |
Pro Tips
- Cure each stage before you move on to the next.
- Use a smaller brush for neat, abstract shapes.
- Remember that your last chance to neaten an oval shape is before the black fill.
- Make the tips your own size if you want to wear them as press ons.
Who Is This Design For?
This design is for anyone who loves purples, lilacs and abstract art, and for nail techs who want to practise blending ombres. If you are looking for a lilac nail design with more going on than a plain fade, this is a good set to copy.
Ways to Make It Your Own
- Cut a slice into the opposite ombre
- Swap the colours for another shade pair
- Mix matte and shiny finishes across the set
Aftercare
Keep cuticles moisturised with oil daily and avoid using nails as tools, to look after your purple ombre nails.
Frequently Asked Questions
How do you make purple ombre nails?
Paint a sheer nude base, apply a lighter and a darker purple gel polish side by side, blend where they meet with a fan brush, cure, then add black line art and top coat.
Do I need a model to practise this?
No. Kirsty works on tips, so you can practise without one.
Which brush is used for the ombre?
The Deep Smile brush for applying the colours, and a fan brush to blend.
Can I play with the ombre?
Yes. Kirsty says you can really play around with your ombres, including slicing the opposite ombre.
Which purples are used?
Periwinkle and Glastonbury Nights, over a background of Sheer Elegance.
How is the black nail done?
It is filled in with two coats of Serious Black, with curved lines added.
Can these be worn as press ons?
Yes. Kirsty suggests making the tips your own size if you want to wear them that way.
Give Purple Ombre Nails a Try
Watch the nail art tutorial above, then try your own ombre and share your results.


