



Mylar and netting nails combine a block of colour, a piece of coloured netting and a line of sparkly mylar on a clear tip, all encapsulated in clear acrylic. Kirsty Meakin from Naio Nails blends the colour down the nail at an angle, attaches pink netting over the clear part and runs pink mylar along the join.
It is a simple, easy design you can do in the salon. Leaving part of the clear tip transparent gives a cool dimension to the netting and lets the mylar sparkle.
Below is each stage in order, with the time to watch it in the video.
At a Glance
- Design: an angled colour block with pink netting and mylar on a clear nail
- Artist: Kirsty
- Technique: acrylic encapsulation on a clear tip
- Skill level: simple and salon friendly
- Key products: Natural Beige and Crystal Clear Acrylic Powder, Maximum Adhesion Primerless Acrylic Liquid, Mylar, netting, Pinching Tool, Mega Gloss
- Video length: about 6 minutes 20 seconds
Why You'll Love These Mylar and Netting Nails
- Cool transparent dimension
- Sparkle from the mylar
- Easy to do in the salon
Why Part of the Nail Is Left Clear
The design depends on contrast between solid and see-through. The colour is blended down the nail at an asymmetric angle and stops, so a section of the clear tip stays transparent. Netting laid over that clear section can be seen right through, which is where the dimension comes from.
The mylar then does a practical job as well as a pretty one. Run along the edge where the colour meets the clear, it covers the join, so that line does not have to be perfect.
Products Used in This Video


How to Create Mylar and Netting Nails
1. Colour the nail
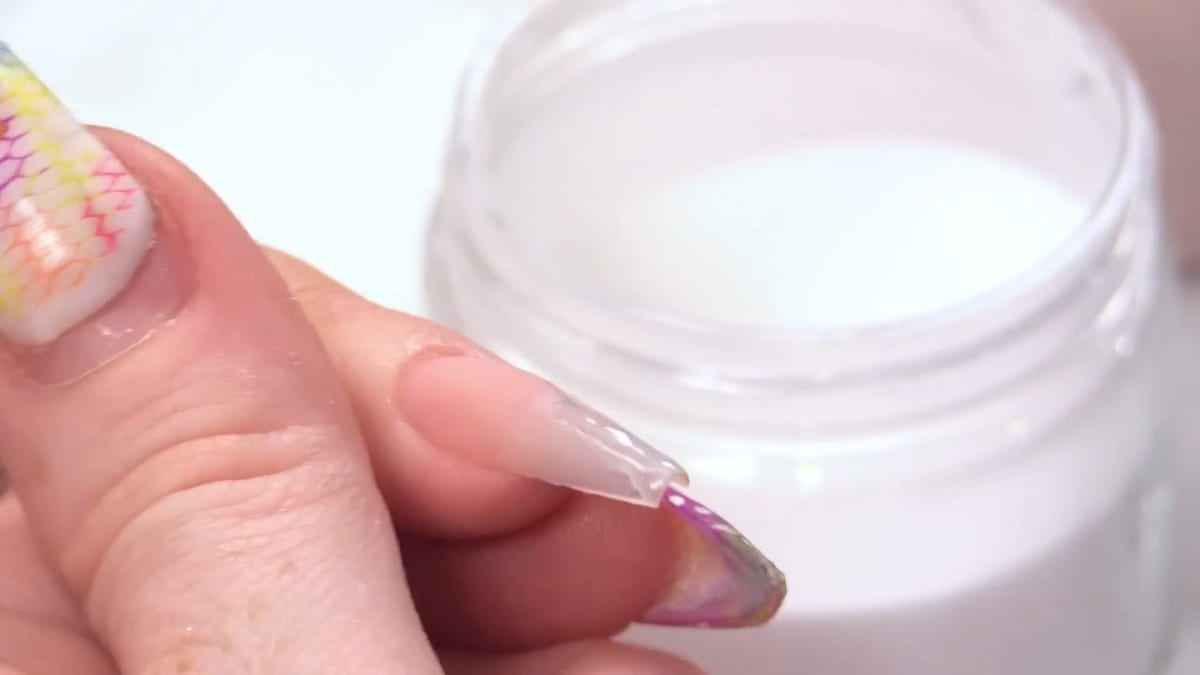
On a prepped clear tip, blend out a small bead of Natural Beige down the nail at an asymmetric angle, keeping part of the nail clear. Do the cuticle area without bleeding out the bead, and keep it smooth and flat for a chunky nail. Watch this step at 0:30

2. Attach the netting
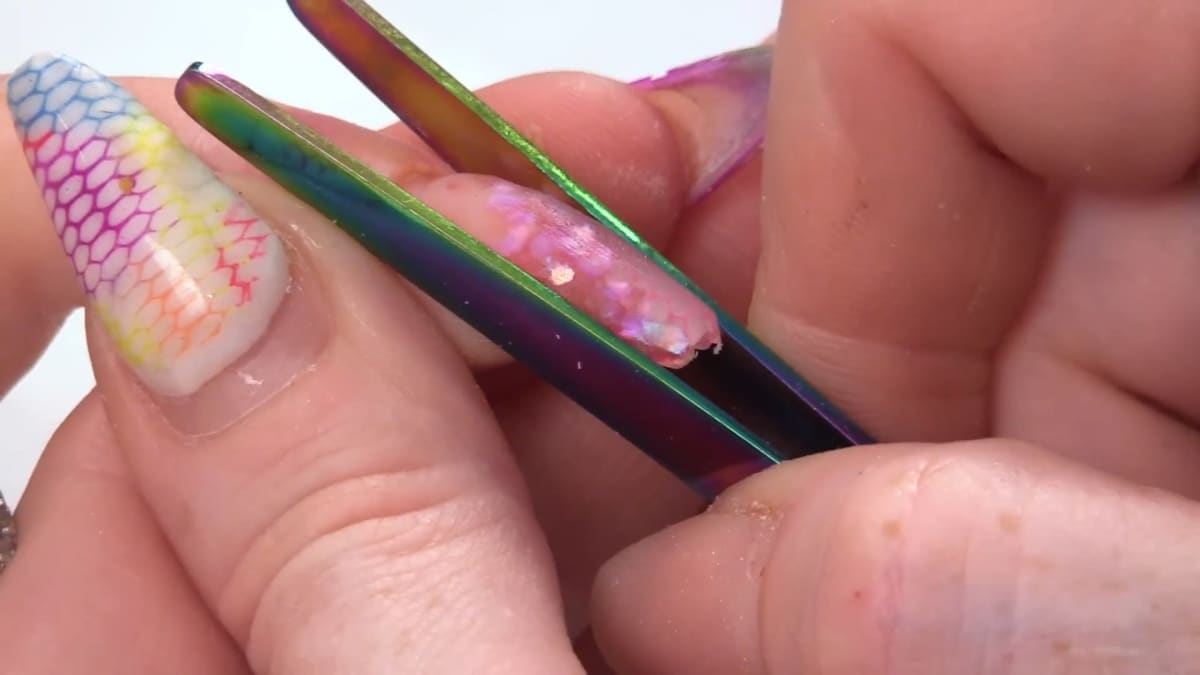
Cut a piece of pink netting. Attach it with clear acrylic, quite wet and thin, pressing it in with your fingers and adding more clear to help it stick, using the side of the brush or tweezers. Watch this step at 2:10
3. Add the mylar
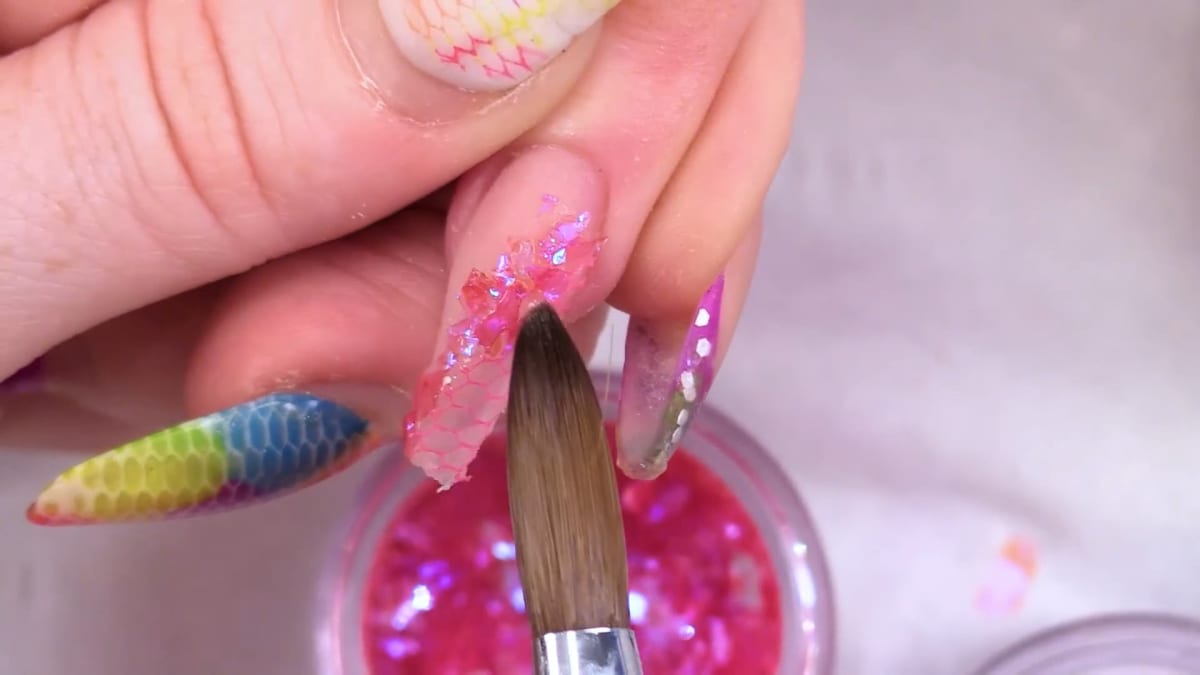
Pick up a little bead and go straight into the pot of mylar, then run it along the edge where the colour and clear meet. It does not need to be neat. Press it flat with the stick end of the brush, as it is a lot firmer. Watch this step at 3:00
4. Encapsulate and pinch
Encapsulate with clear acrylic, then pop the Pinching Tool on and let it set.
5. File and seal
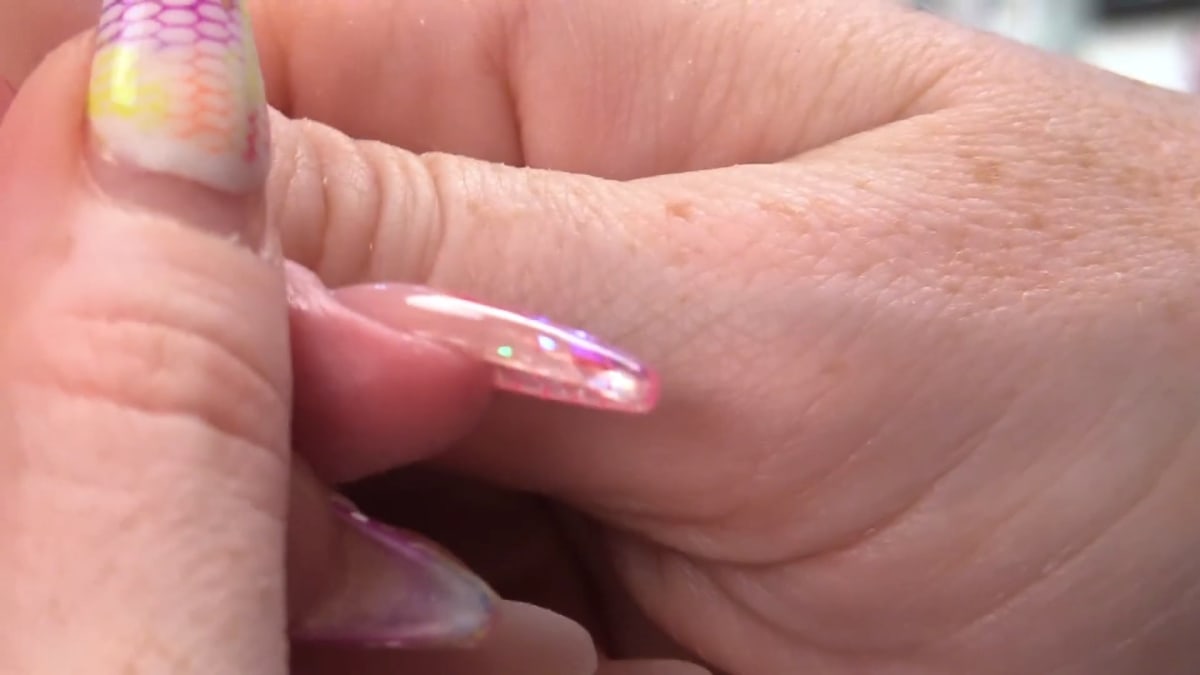
Go over with an electric file, file into shape, wipe with Pure Acetone to smooth it and top coat with Mega Gloss. Cure, then finish with cuticle oil. Watch this step at 5:30
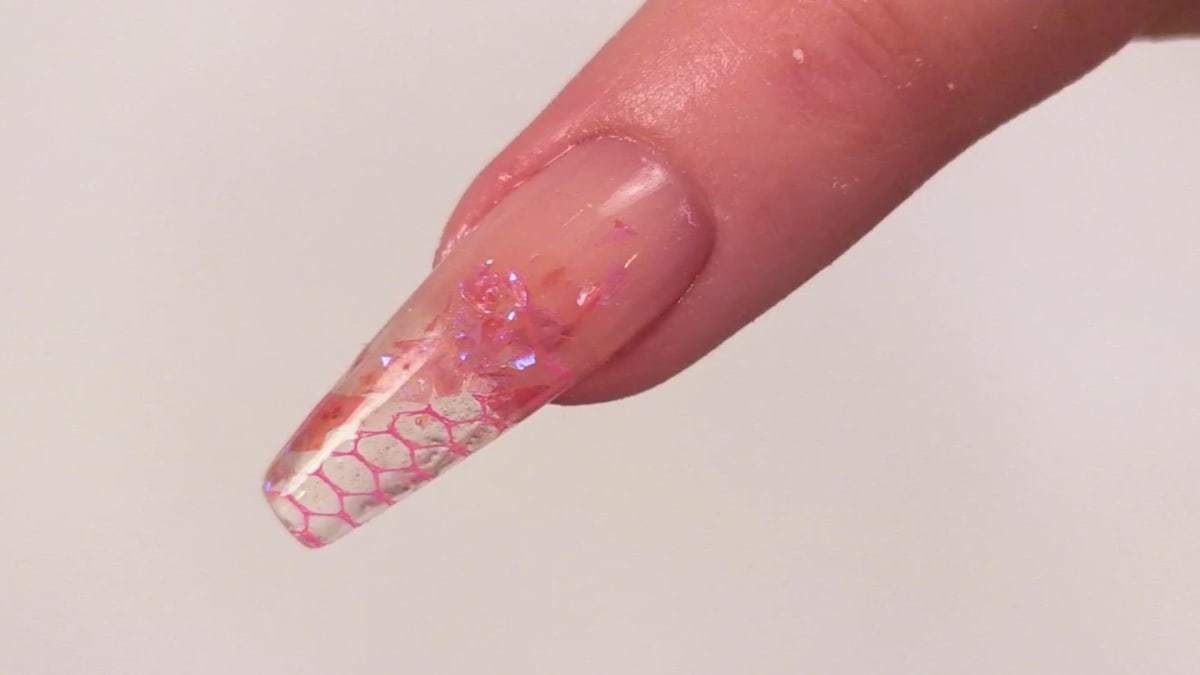
Where to find each stage of the mylar and netting nails video
| Stage | Time |
|---|---|
| The materials | 0:30 |
| Preparing the nail | 2:10 |
| Mylar along the join | 3:00 |
| Placing netting with tweezers | 3:50 |
| Shaped design | 5:30 |
| Finished nail | 6:10 |
Pro Tips
- Leave part of the nail clear to show off the netting.
- Do not bleed out the bead at the cuticle.
- Press the mylar flat with the stick end of the brush.
Who Is This Design For?
Anyone who likes easy, sparkly designs that are quick to do in the salon. Mylar and netting nails are a neat way to use up small pieces of netting and flakes.
Ways to Make It Your Own
- Choose other netting and mylar colours
- Change the angle of the colour
Aftercare
Finish with cuticle oil.
Frequently Asked Questions
How do you attach the netting?
With quite wet, thin clear acrylic, pressed in and topped with a little more clear.
Does the mylar need to be neat?
No, it just needs to be along the join.
Why leave the nail transparent?
It gives a cool dimension with the netting.
How do you pick up the mylar?
Pick up a little bead of acrylic and go straight into the pot of mylar with it.
What do you press the mylar flat with?
The stick end of the brush, as it is a lot firmer.
Why not bleed out the bead at the cuticle?
Kirsty places the cuticle bead without bleeding it out and keeps it smooth and flat.
Give Mylar and Netting Nails a Try
Watch the video above and follow along with Kirsty.


