



To do a Barbie pink pedicure, you remove the old gel, prep the cuticle area, repair any damaged nail with a little acrylic, then apply base coat, two coats of bright pink gel polish, bling on the big toe and top coat. In this tutorial Kirsty updates Fay's toenails from summer yellow to Barbie pink.
She removes the old gel, fixes one toe with a little acrylic and adds bling.
It is a good look at gel polish toenails from removal and prep through to colour and the finishing oil. Below you'll find the products, each step with its place in the video, and Kirsty's tips.
At a Glance
- Service: Barbie pink pedicure with bling on the big toe
- Artist: Kirsty
- Technique: gel polish on toenails with a small acrylic repair
- Key products: Urban Graffiti Base Coat, Hawaiian Lei, Rose Glow Acrylic Powder, AcryGel Tube - Loud and Clear, AB Crystals - Mixed Sizes, Urban Graffiti Top Coat, Cuticle Oil 15ml (Vitamin E)
- Video length: about 15 minutes
Why You'll Love This Barbie Pink Pedicure
- A complete pedicure from removal to finish
- A simple acrylic fix for a damaged corner
- Top tips for neat edges and protecting other toes while filing
- Bling on the big toe only, rather than every nail
What Makes a Gel Pedicure Different
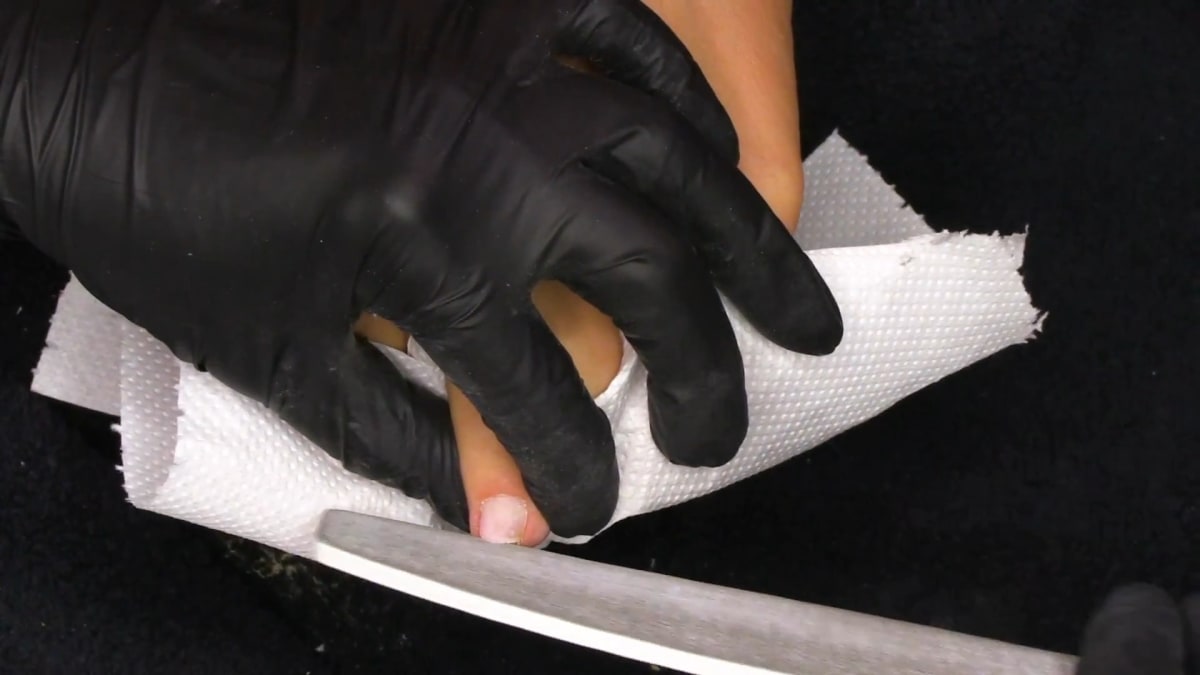
Toenails are small and close together, and most of the practical tips in this video come from that. Removal is done with a sanding band because it is gentler, taking the colour off until the base coat underneath shows. When the acrylic repair is filed, a twist of paper towel between the toes keeps the dust off the nails that are already prepped.
Colour is where neatness shows most. If your hand is not steady, a small detail brush on the first coat gets the pink right to the edges. The bling is kept to the big toe, placed in AcryGel with top coat over it and cured quickly so nothing slides. Those small habits are what make pink toenails look tidy.
Products Used in This Video


How to Create a Barbie Pink Pedicure
1. Sanitise and remove
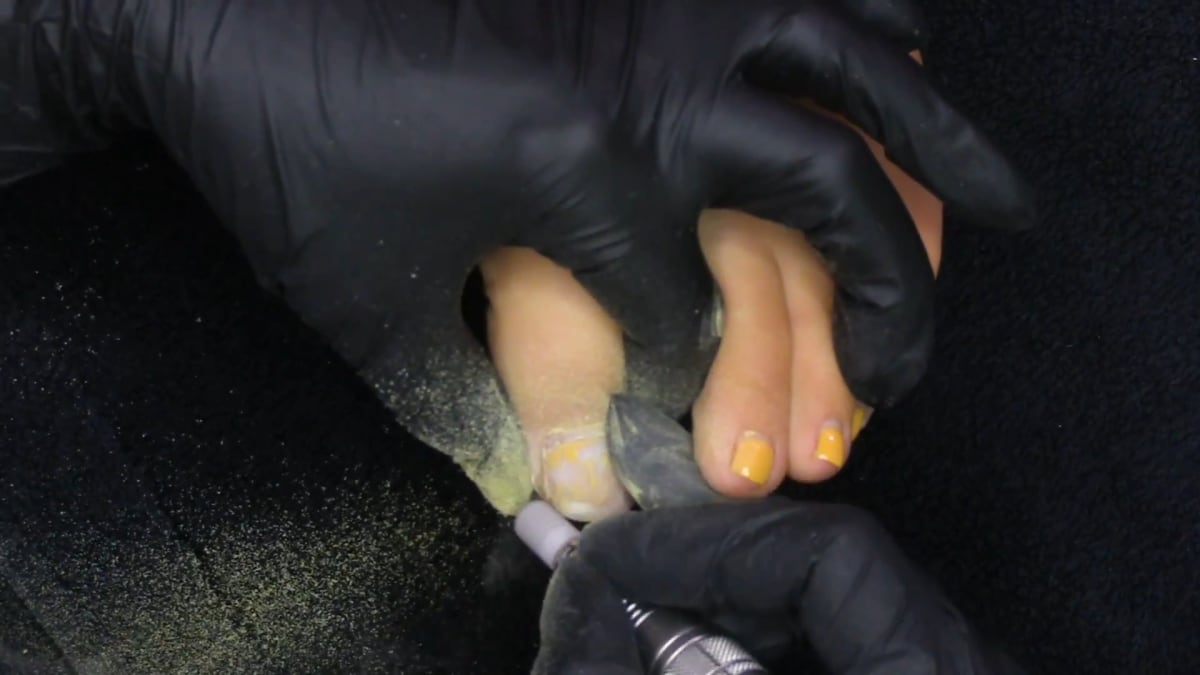
Sanitise the toes, remove the stones and use an e-file to remove the gel. A sanding band is gentler and can remove the colour until you reach the base coat underneath. Watch this step at 1:30
2. Prep the cuticle area
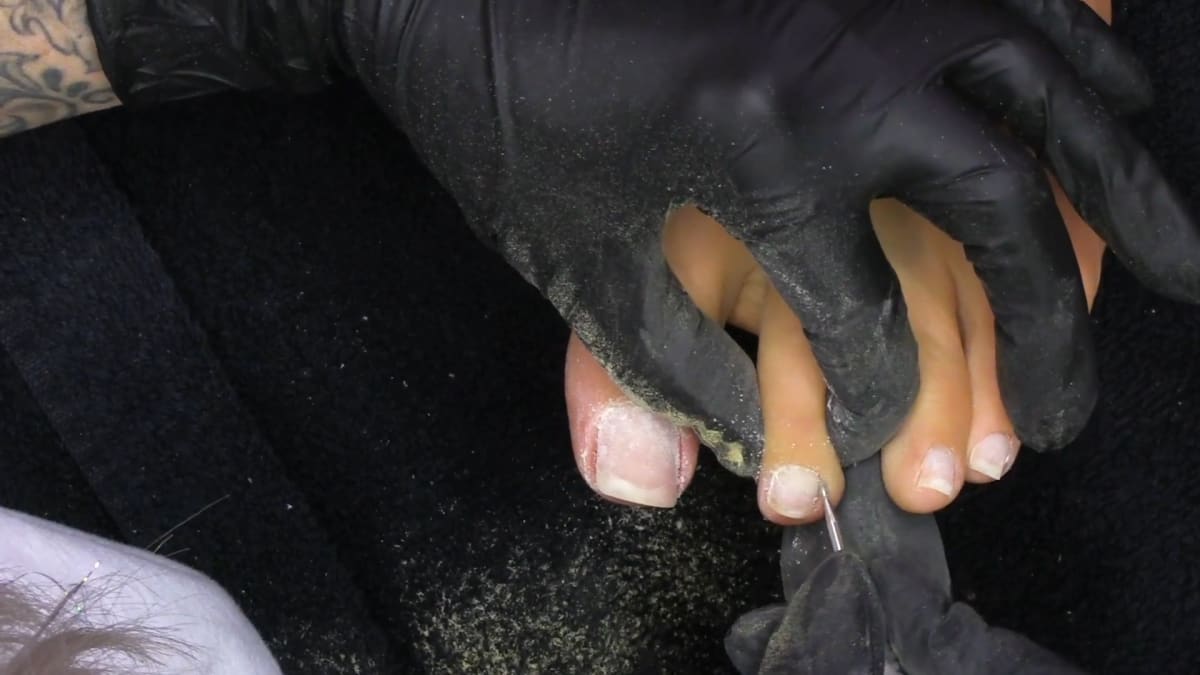
Use a cuticle bit to remove the non living tissue, then dehydrate the nail. Watch this step at 3:20
3. Fix the second toe
Use a little Rose Glow with Maximum Adhesion liquid to fix the second toe. Watch this step at 5:20
4. Protect the other toes and file
Twist a piece of paper towel and place it between the toes, to protect the other nails from filings while you file the acrylic. Wipe over with Gel Residue Wipe-off Solution and dehydrate again. Watch this step at 7:30
5. Base coat and colour
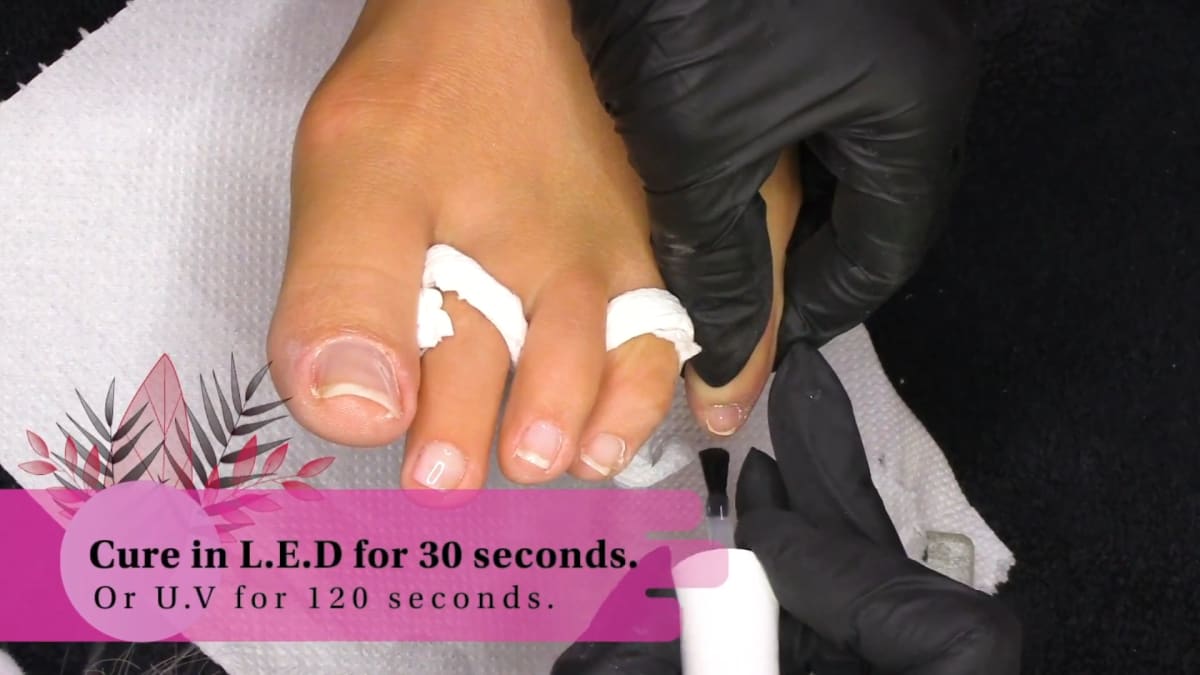
Base coat all of the nails, then apply two coats of colour. You can use a small detail brush to get right to the edges on the first coat if you do not have a steady hand. Watch this step at 9:10
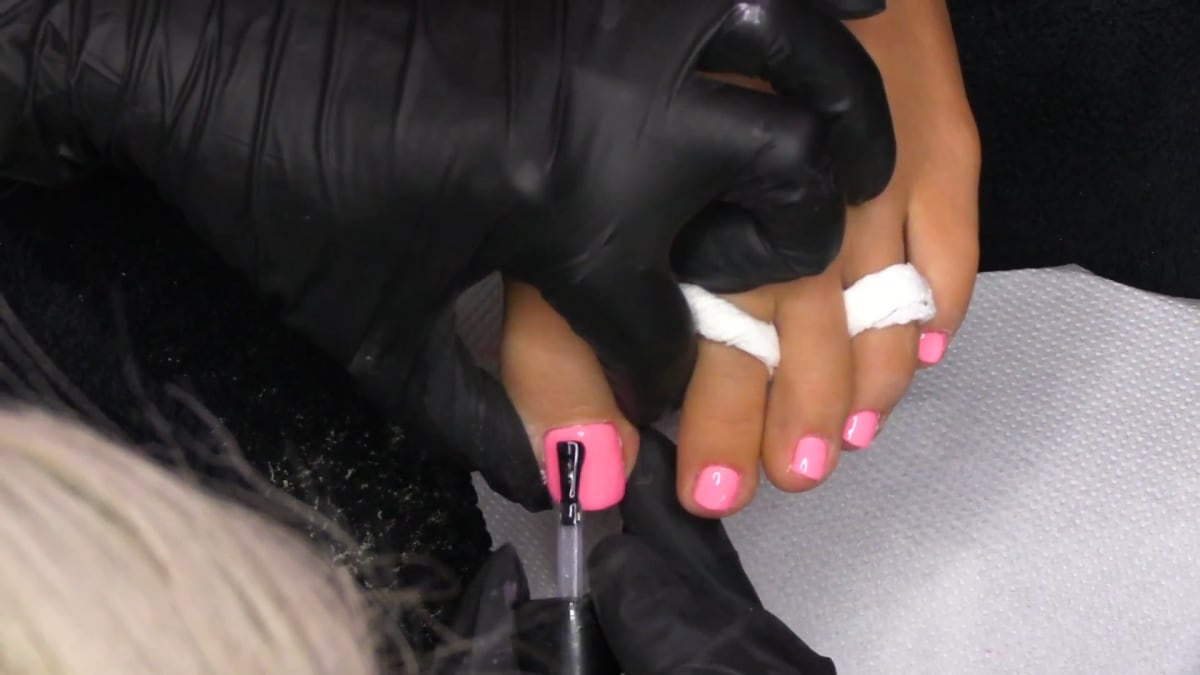
6. Add the bling
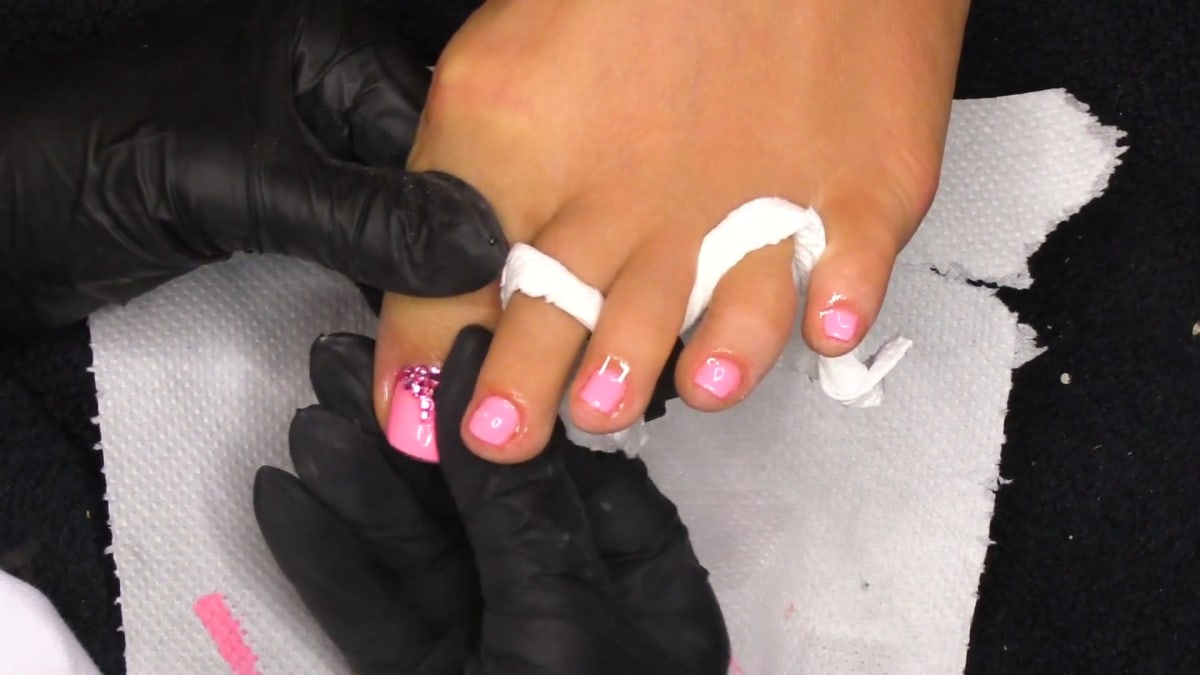
Place the bling with AcryGel on the big toe, layer top coat over the top, and cure quickly so nothing slides around. Top coat the rest of the nails. Watch this step at 12:30
7. Finish with oil
Finish with the brand new Vitamin E cuticle oil. Watch this step at 13:00
Where to find each stage of the Barbie Pink Pedicure video
| Stage | Time |
|---|---|
| Sanitising and removing the old gel | 1:30 |
| Cuticle prep | 3:20 |
| Acrylic repair on the second toe | 5:20 |
| Protecting the toes and filing | 7:30 |
| Base coat and first colour coat | 9:10 |
| Second colour coat | 11:40 |
| Bling and top coat | 12:30 |
| Cuticle oil and finished pedicure | 13:00 |
Pro Tips
- Use a sanding band as it is gentler than an e-file on toenails.
- Cover the other toes with paper towel so filings do not land on prepped nails.
- Use a small detail brush for neat edges on the first coat.
- Keep bling to the big toe so it is not too much.
Who Is This Design For?
This pedicure suits anyone who wants a fresh, bright pink toenail with a touch of bling, and nail techs wanting to see a full toe service. As a pedicure tutorial, it covers removal as well as application, which many videos skip.
Ways to Make It Your Own
- Choose a different colour
- Add bling to more toes
- Skip the acrylic repair if the nails are intact
Aftercare
Moisturise the cuticles with oil daily and wear comfortable shoes to protect the toenails and keep your Barbie pink pedicure looking fresh.
Frequently Asked Questions
How do you do a Barbie pink pedicure?
Remove the old gel, prep the cuticle area and dehydrate, repair any damaged nail with acrylic, base coat, apply two coats of pink gel polish, add bling to the big toe, top coat and finish with cuticle oil.
How do you remove gel polish on toenails?
Use a sanding band, which is gentler, to take off the colour until you reach the base coat.
How do you protect the other toes while filing?
Twist a paper towel and place it between the toes.
Where is the bling placed?
On the big toe, with AcryGel and top coat.
Which pink is used?
Hawaiian Lei, applied in two coats over Urban Graffiti Base Coat.
How do you get neat edges on toenails?
Use a small detail brush to take the first coat right to the edges if you do not have a steady hand.
How was the damaged toenail fixed?
With a little Rose Glow acrylic, filed into shape before the base coat went on.
Give a Barbie Pink Pedicure a Try
Watch the nail tutorial above, then give it a go and share your results.


